Downloading a Site Backup on ULTRA Cloud

Need a local copy of your website? Whether you’re archiving, migrating, or just being extra safe, this guide shows you how to create and download a complete backup in ULTRA Cloud.
Step 1: Open Site Settings
Login to your Freethought account
- Login to your Customer Portal account.
- Click on ULTRA Cloud Panel in the top row to login to the control panel.
- Find the site you want to manage.
- Click the Settings cog icon beside that site.

Step 2: Go to Backups
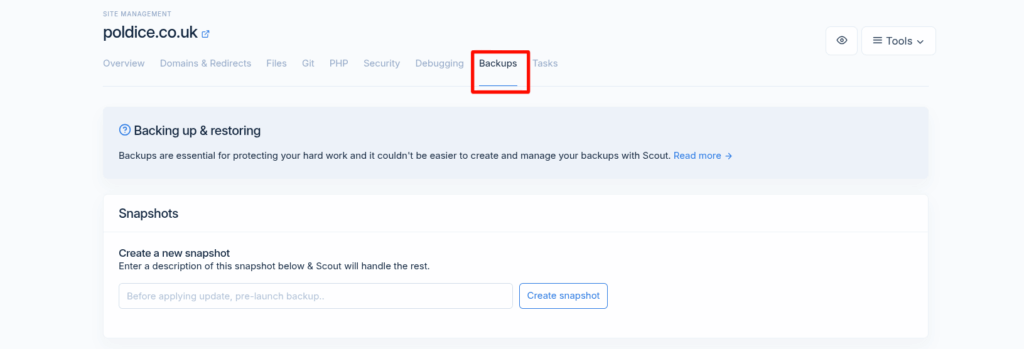
In the site settings menu, navigate to the Backups section.
Step 3: Create a Snapshot
You’ll see the Snapshots section, this is where you can create a new downloadable backup of your website. The Snapshots will always include an backup of both your site files and database.
- Give the Snapshot a name.
- Click Create snapshot to tell ULTRA Cloud to create a new Snapshot.

Wait for the Snapshot to Complete
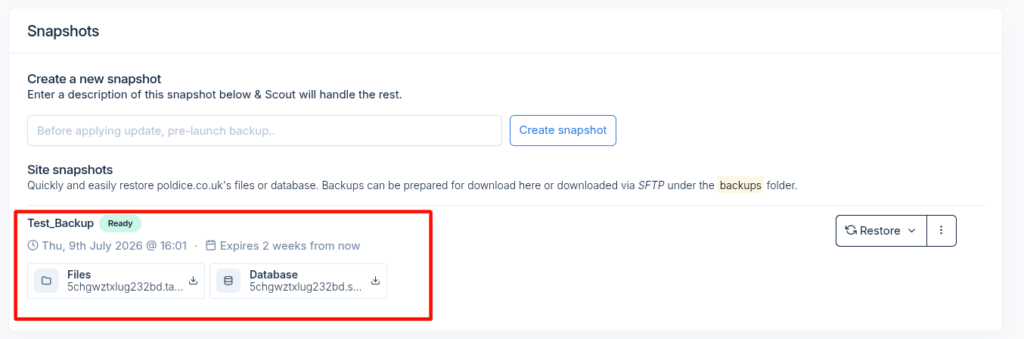
Your Snapshot is now processing in the background, once it’s complete you’ll see a pop-up notification in the lower right corner. You can also check the Backups section, look for a Ready status icon next to your Snapshot.
Download Your Backups
Now it’s time to grab those backups and download them to your computer.
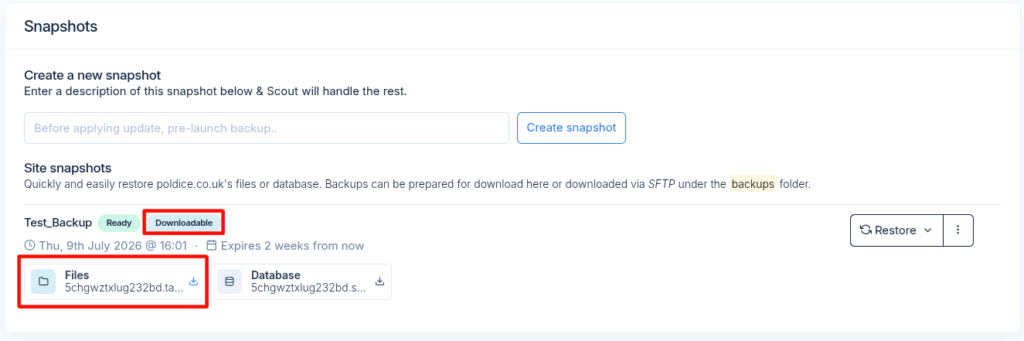
- Click on the Files and/or the Database backups to prepare them for downloading.
- Once the backup has been prepared for downloading, click it again and it will offer up the backup as a download.
- Select where to save it on your computer and wait for the download to complete.
And that’s it, you’ve now downloaded a backup of your site.
If you are running into any issues or have any further questions or concerns, please don’t hesitate to get in touch.